Setup Firebase authentication
ทำการใส่ config Firebase Authentication
เอกสารต้นฉบับ: https://firebase.google.com/docs/auth/web/start (จากนี้จะขอย่อ Firebase Authentication เป็น Firebase Auth)
สิ่งแรกที่เราจะทำ คือเพิ่ม config หลัก Firebase Auth เข้า src/firebase.js
- ทำการ import library Firebase auth เข้ามา
- ต่อ Firebase Auth เข้ากับ emulator ผ่��าน
connectAuthEmulator
import { initializeApp } from 'firebase/app'
import { getFirestore, connectFirestoreEmulator } from 'firebase/firestore/lite'
// ทำการ import library ของ Firebase Auth
import { getAuth, connectAuthEmulator } from 'firebase/auth'

const firebaseConfig = {
  /* config firebase ของ project ตัวเอง */
}

const app = initializeApp(firebaseConfig)

const db = getFirestore(app)
connectFirestoreEmulator(db, '127.0.0.1', 8080)

// ทำการเพิ่ม Firebase Auth เข้ามา
const auth = getAuth()
connectAuthEmulator(auth, 'http://127.0.0.1:9099')

// export ตัว auth ออกไป
export {
  db,
  auth
}
มาลองทดสอบการต่อ Firebase Auth ก่อน
เราจะเริ่มเพ�ิ่มจากฝั่ง user กันก่อน แต่ก่อนเราจะจัดการ state เราจะลอง make sure ก่อนว่า Firebase Auth ใช้งานได้เรียบร้อย
ที่ UserLayout เราจะลองเพิ่ม signInWithPopup() ให้กับปุ่ม Login กันก่อน
ลองปรับ function login ใน src/layouts/UserLayout.vue เป็น
<script setup>
/* import Vue ตัวอื่นๆ ก่อนหน้านี้ */

import {
  GoogleAuthProvider,
  signInWithPopup
} from 'firebase/auth'

import { auth } from '@/firebase'

// ระบุ social provider ที่จะใช้ login
const provider = new GoogleAuthProvider()
provider.addScope('https://www.googleapis.com/auth/contacts.readonly')


const login = async () => {
  try {
    const result = await signInWithPopup(auth, provider)
    this.user = result.user
  } catch (error) {
    console.log('error', error)
  }
}
</script>

<template>
  <!-- html ที่เกี่ยวข้อง กับจุด login -->
  <div class="btn btn-ghost" @click="login">
    Login
  </div>
</template>
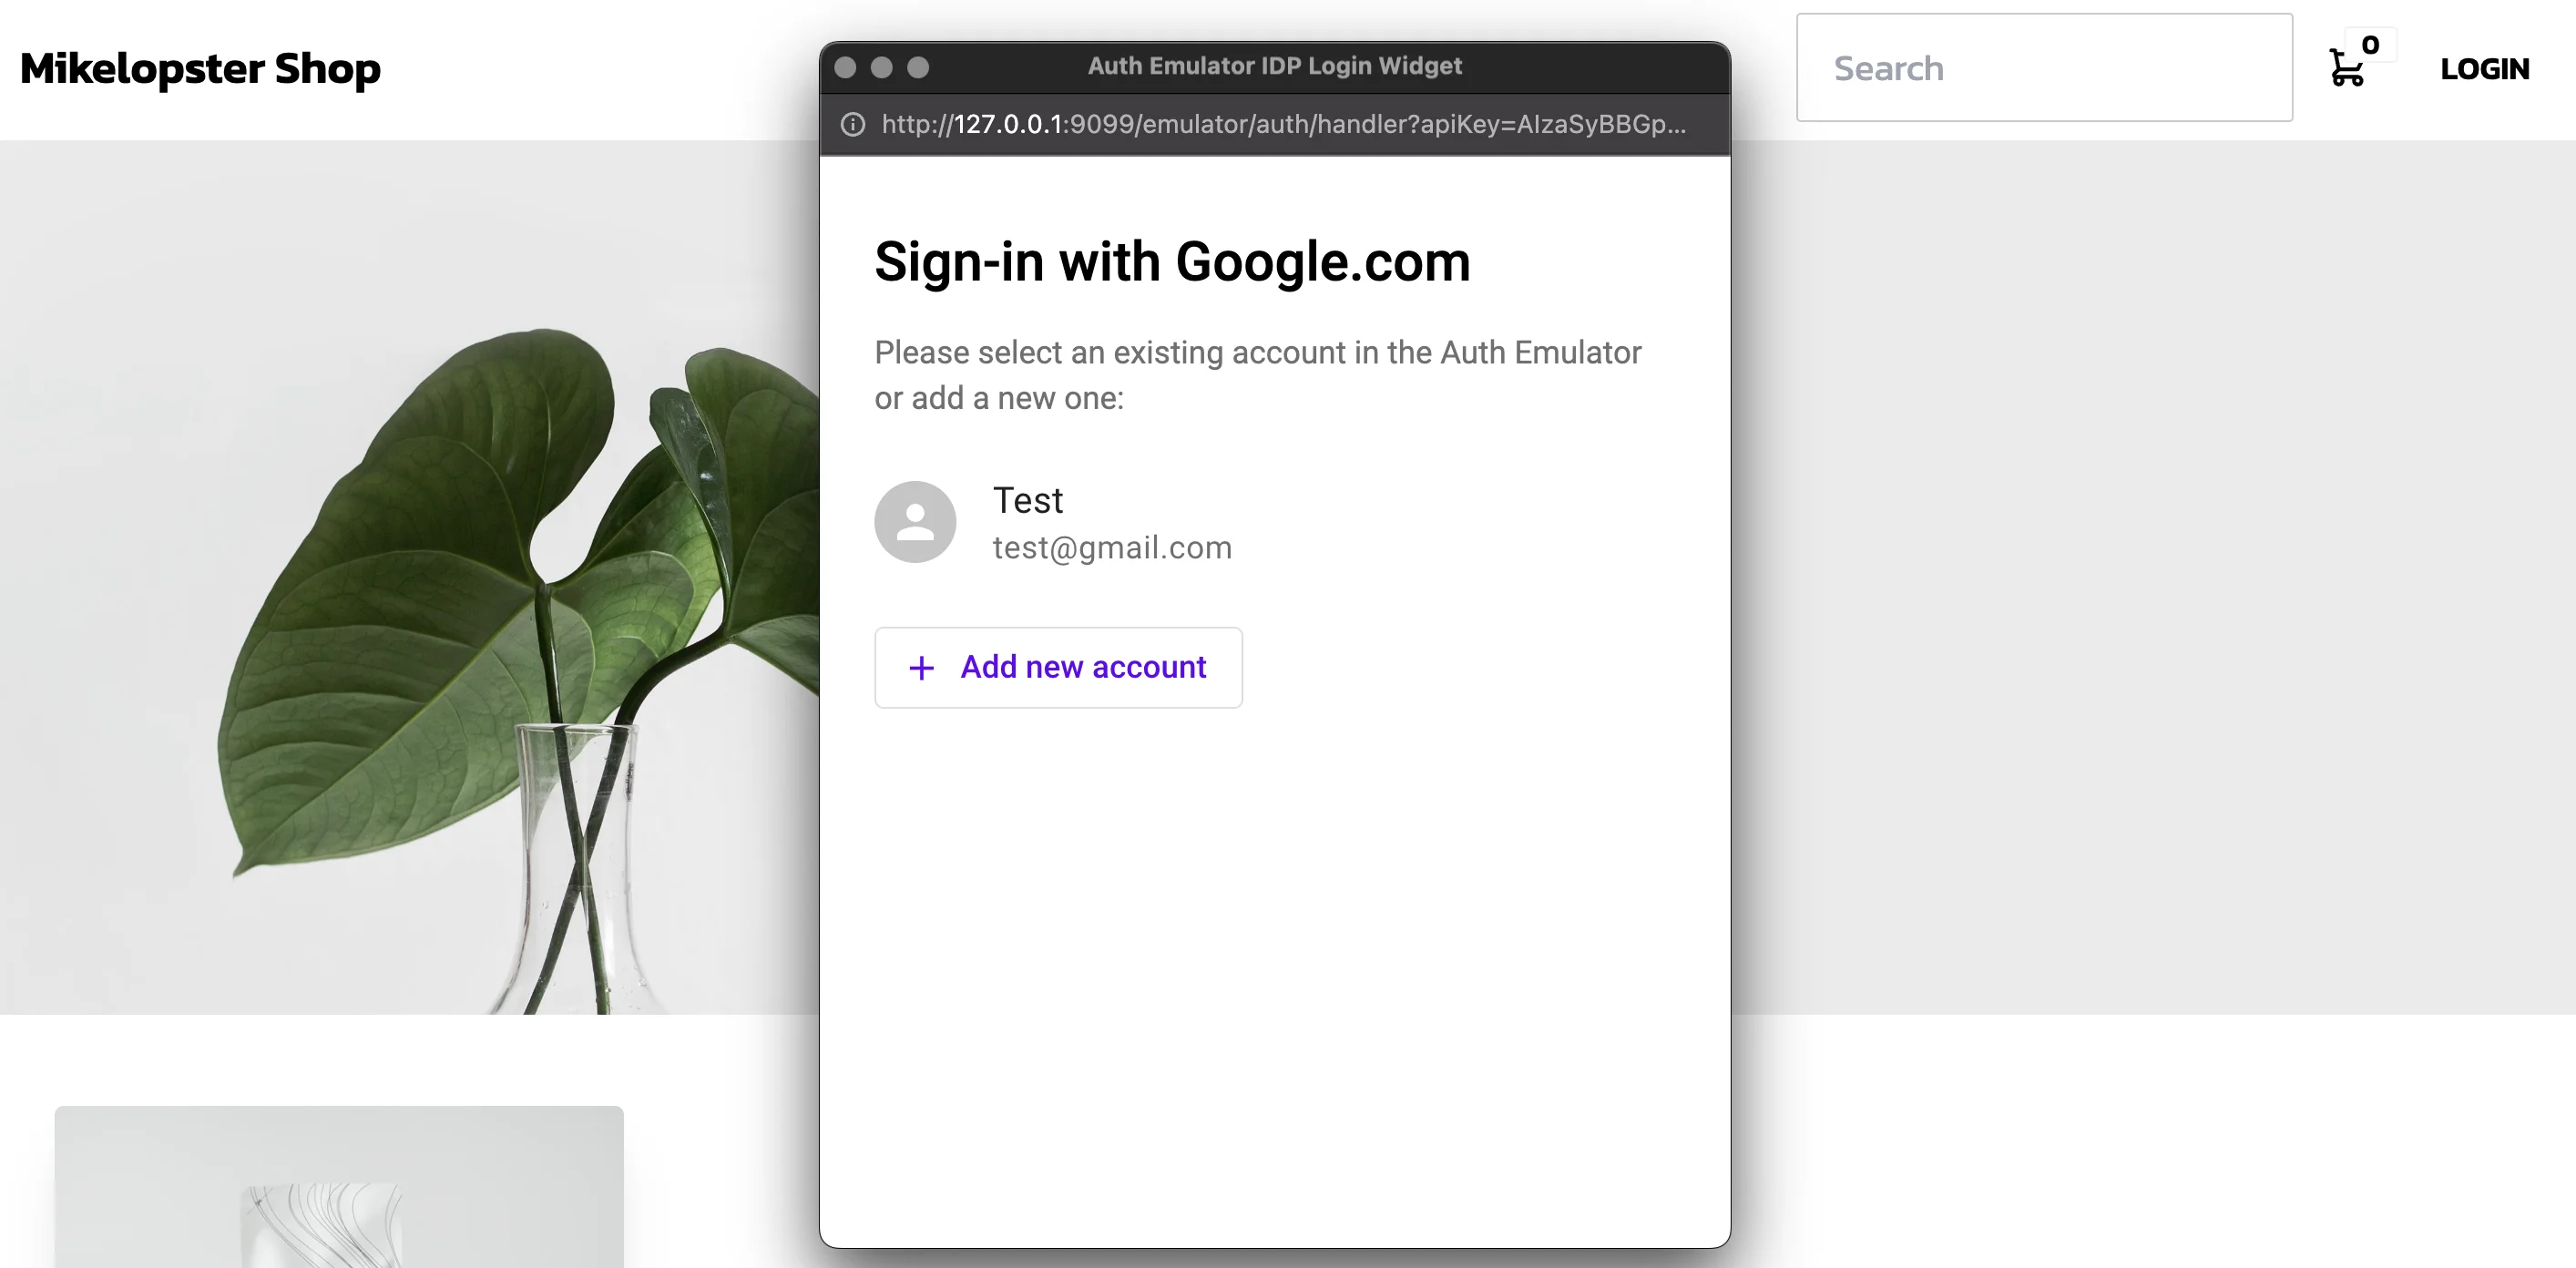
เมื่อลองกด Login ดู จะเจอ popup หน้าตาประมาณนี้ออกมา ให้ทำการเพิ่ม Account ไปและกด Login เข้าไป

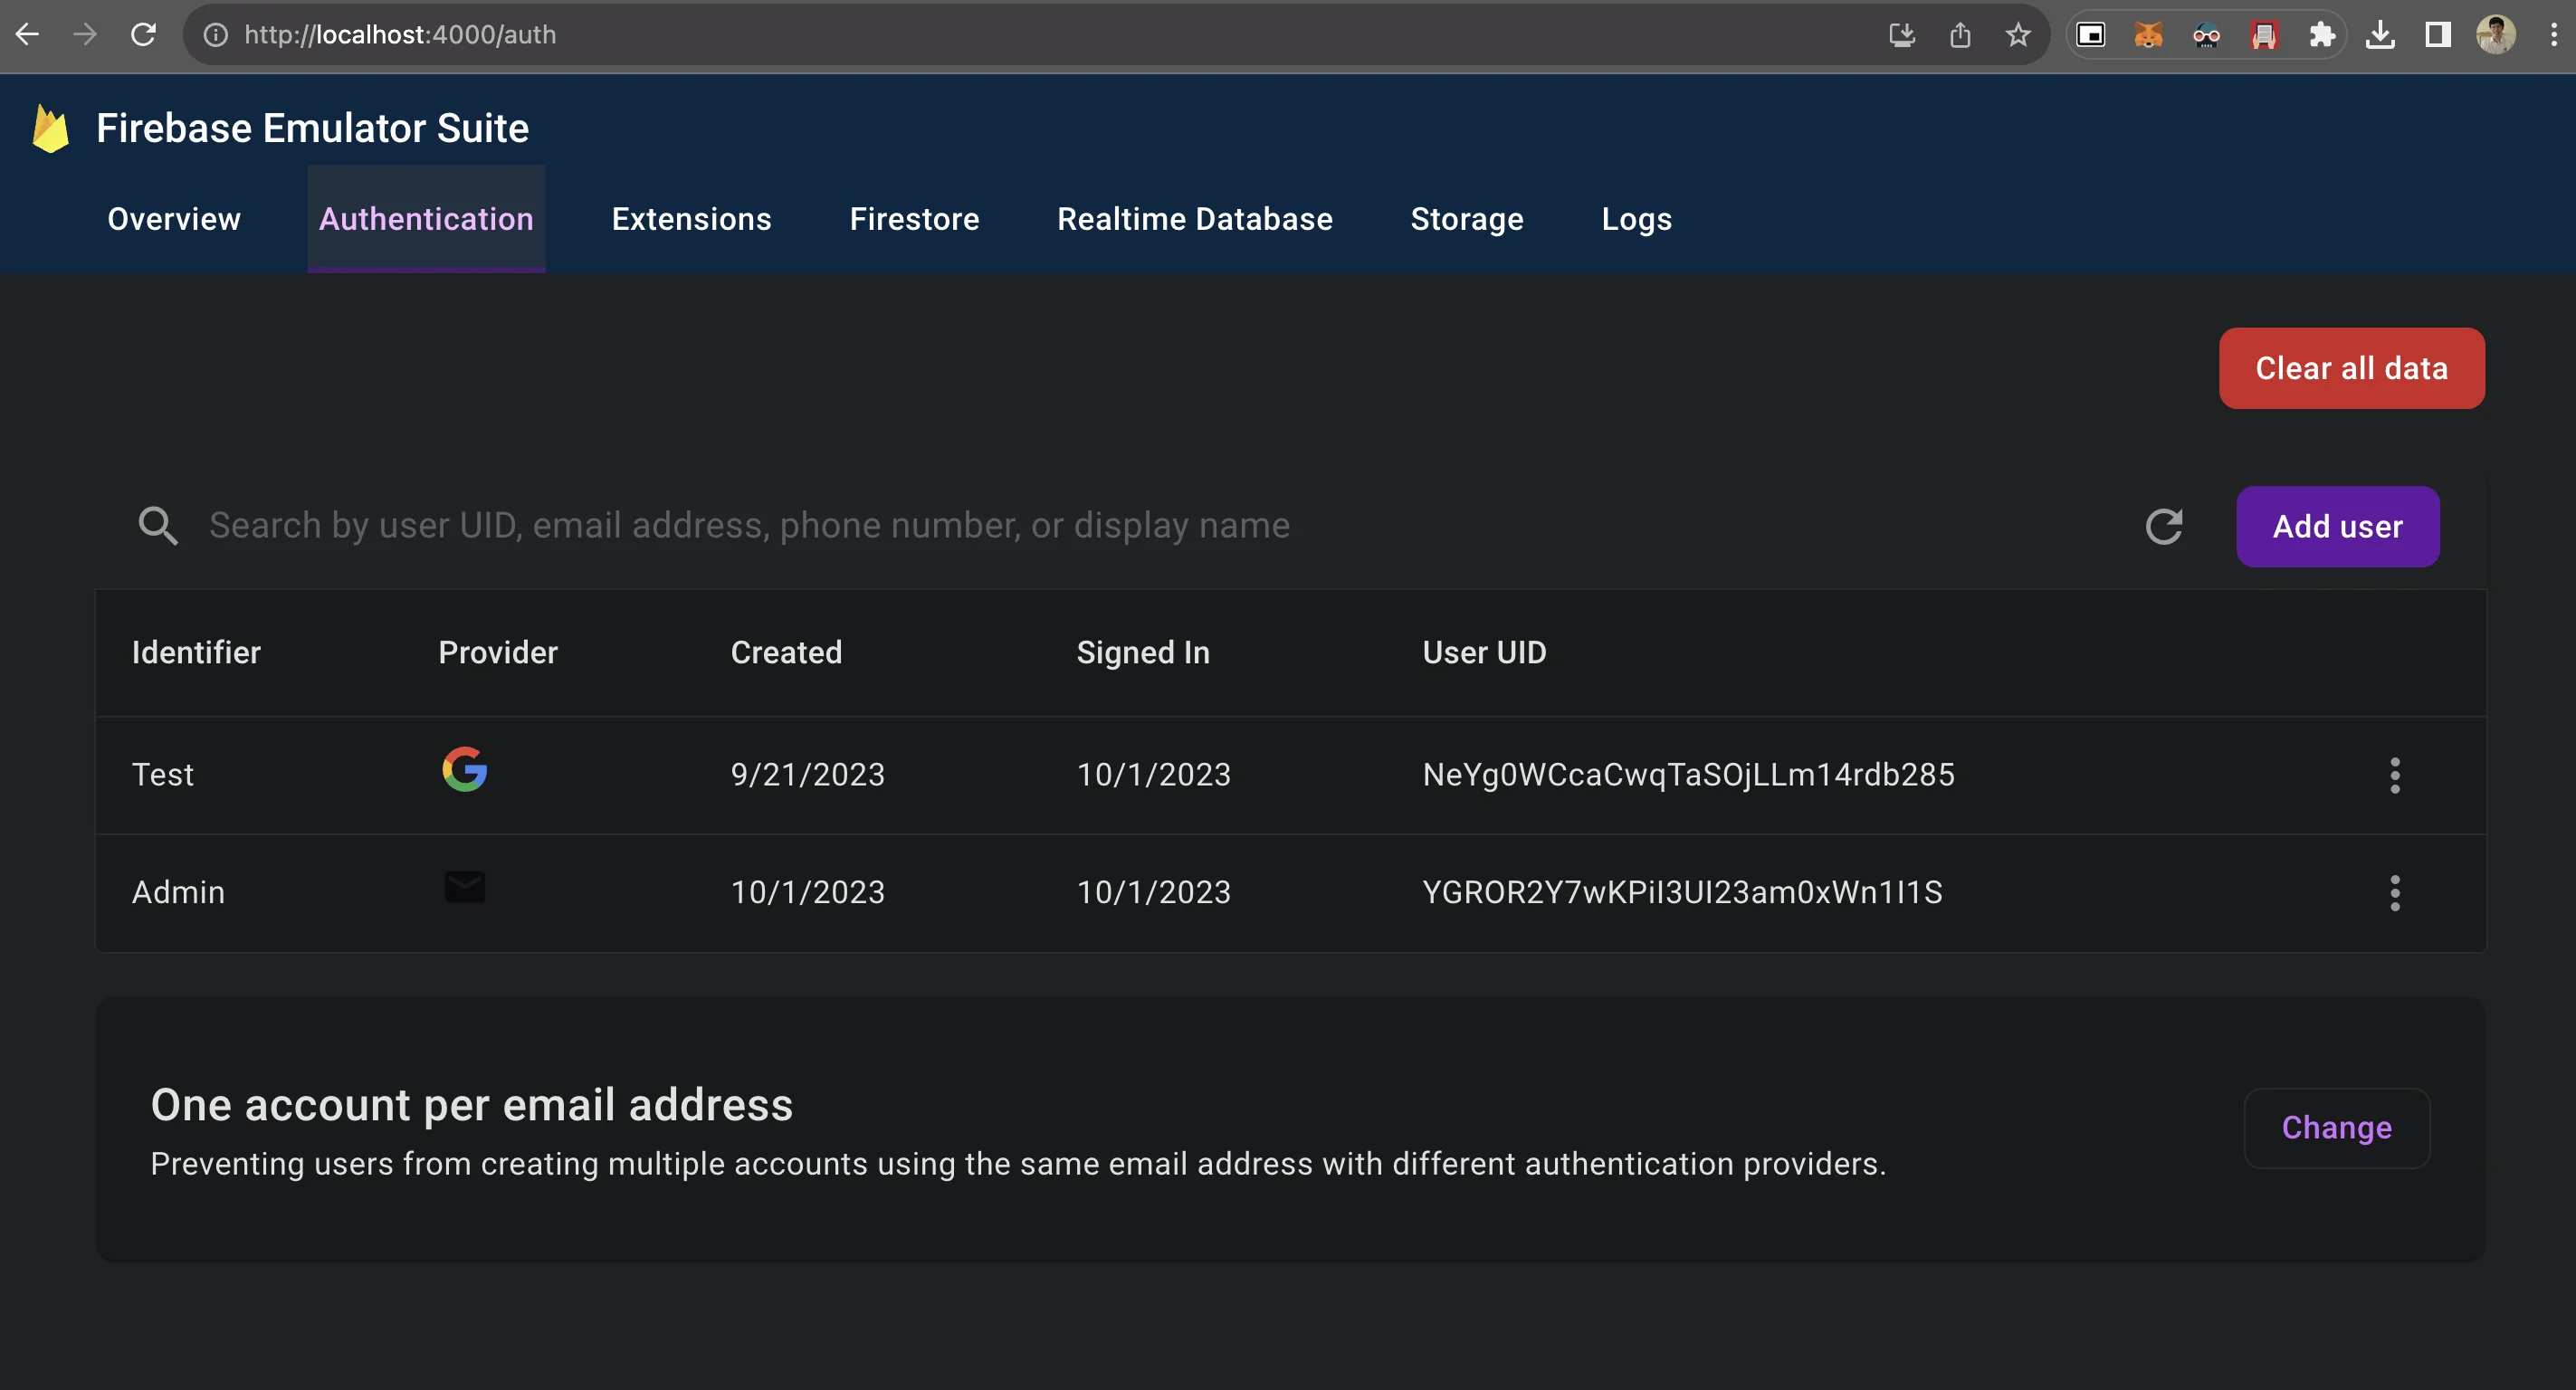
เมื่อ login เรียบร้อย ให้ลองตรวจสอบ Firebase Auth ที่ Firebase Emulator ดู
